Interaction Design · Sound · Behavior
Ambient Sound Console
A tabletop device for sound-guided relaxation. Designed and built in SMC Tangible Design, 2021.
Overview
The brief was open: build a music-making system using Arduino and Processing, house it in a cardboard enclosure, and make something worth experiencing. Our team interpreted it as an invitation to slow down. The result was a small ambient sound device that let a listener compose their own atmosphere by combining nature recordings with a secondary instrumental layer, controlled entirely through physical interaction with a printed enclosure.
The Problem
Most ambient sound tools are software interfaces — apps, browser tabs, something you navigate rather than touch. The brief asked us to think differently: what does it feel like to control sound with your hands, through a physical object that has weight and texture? The design question became whether the physical interface could communicate as much as the audio it controlled — not just function, but texture and intention.
My Role
I built the hardware-software bridge. On the Arduino side, I wrote the code that reads the push button and cycles through the three primary tracks — Ocean, Creek, and Rain — displaying the current track name on the RGB LCD screen. The potentiometer controls LCD brightness, mapping the analog read value to a color shift across the display. I also wrote the initial Processing sketch for the Minim-based audio integration, iterating through three versions before the final sketch merged both audio layers into a single serial-connected program.
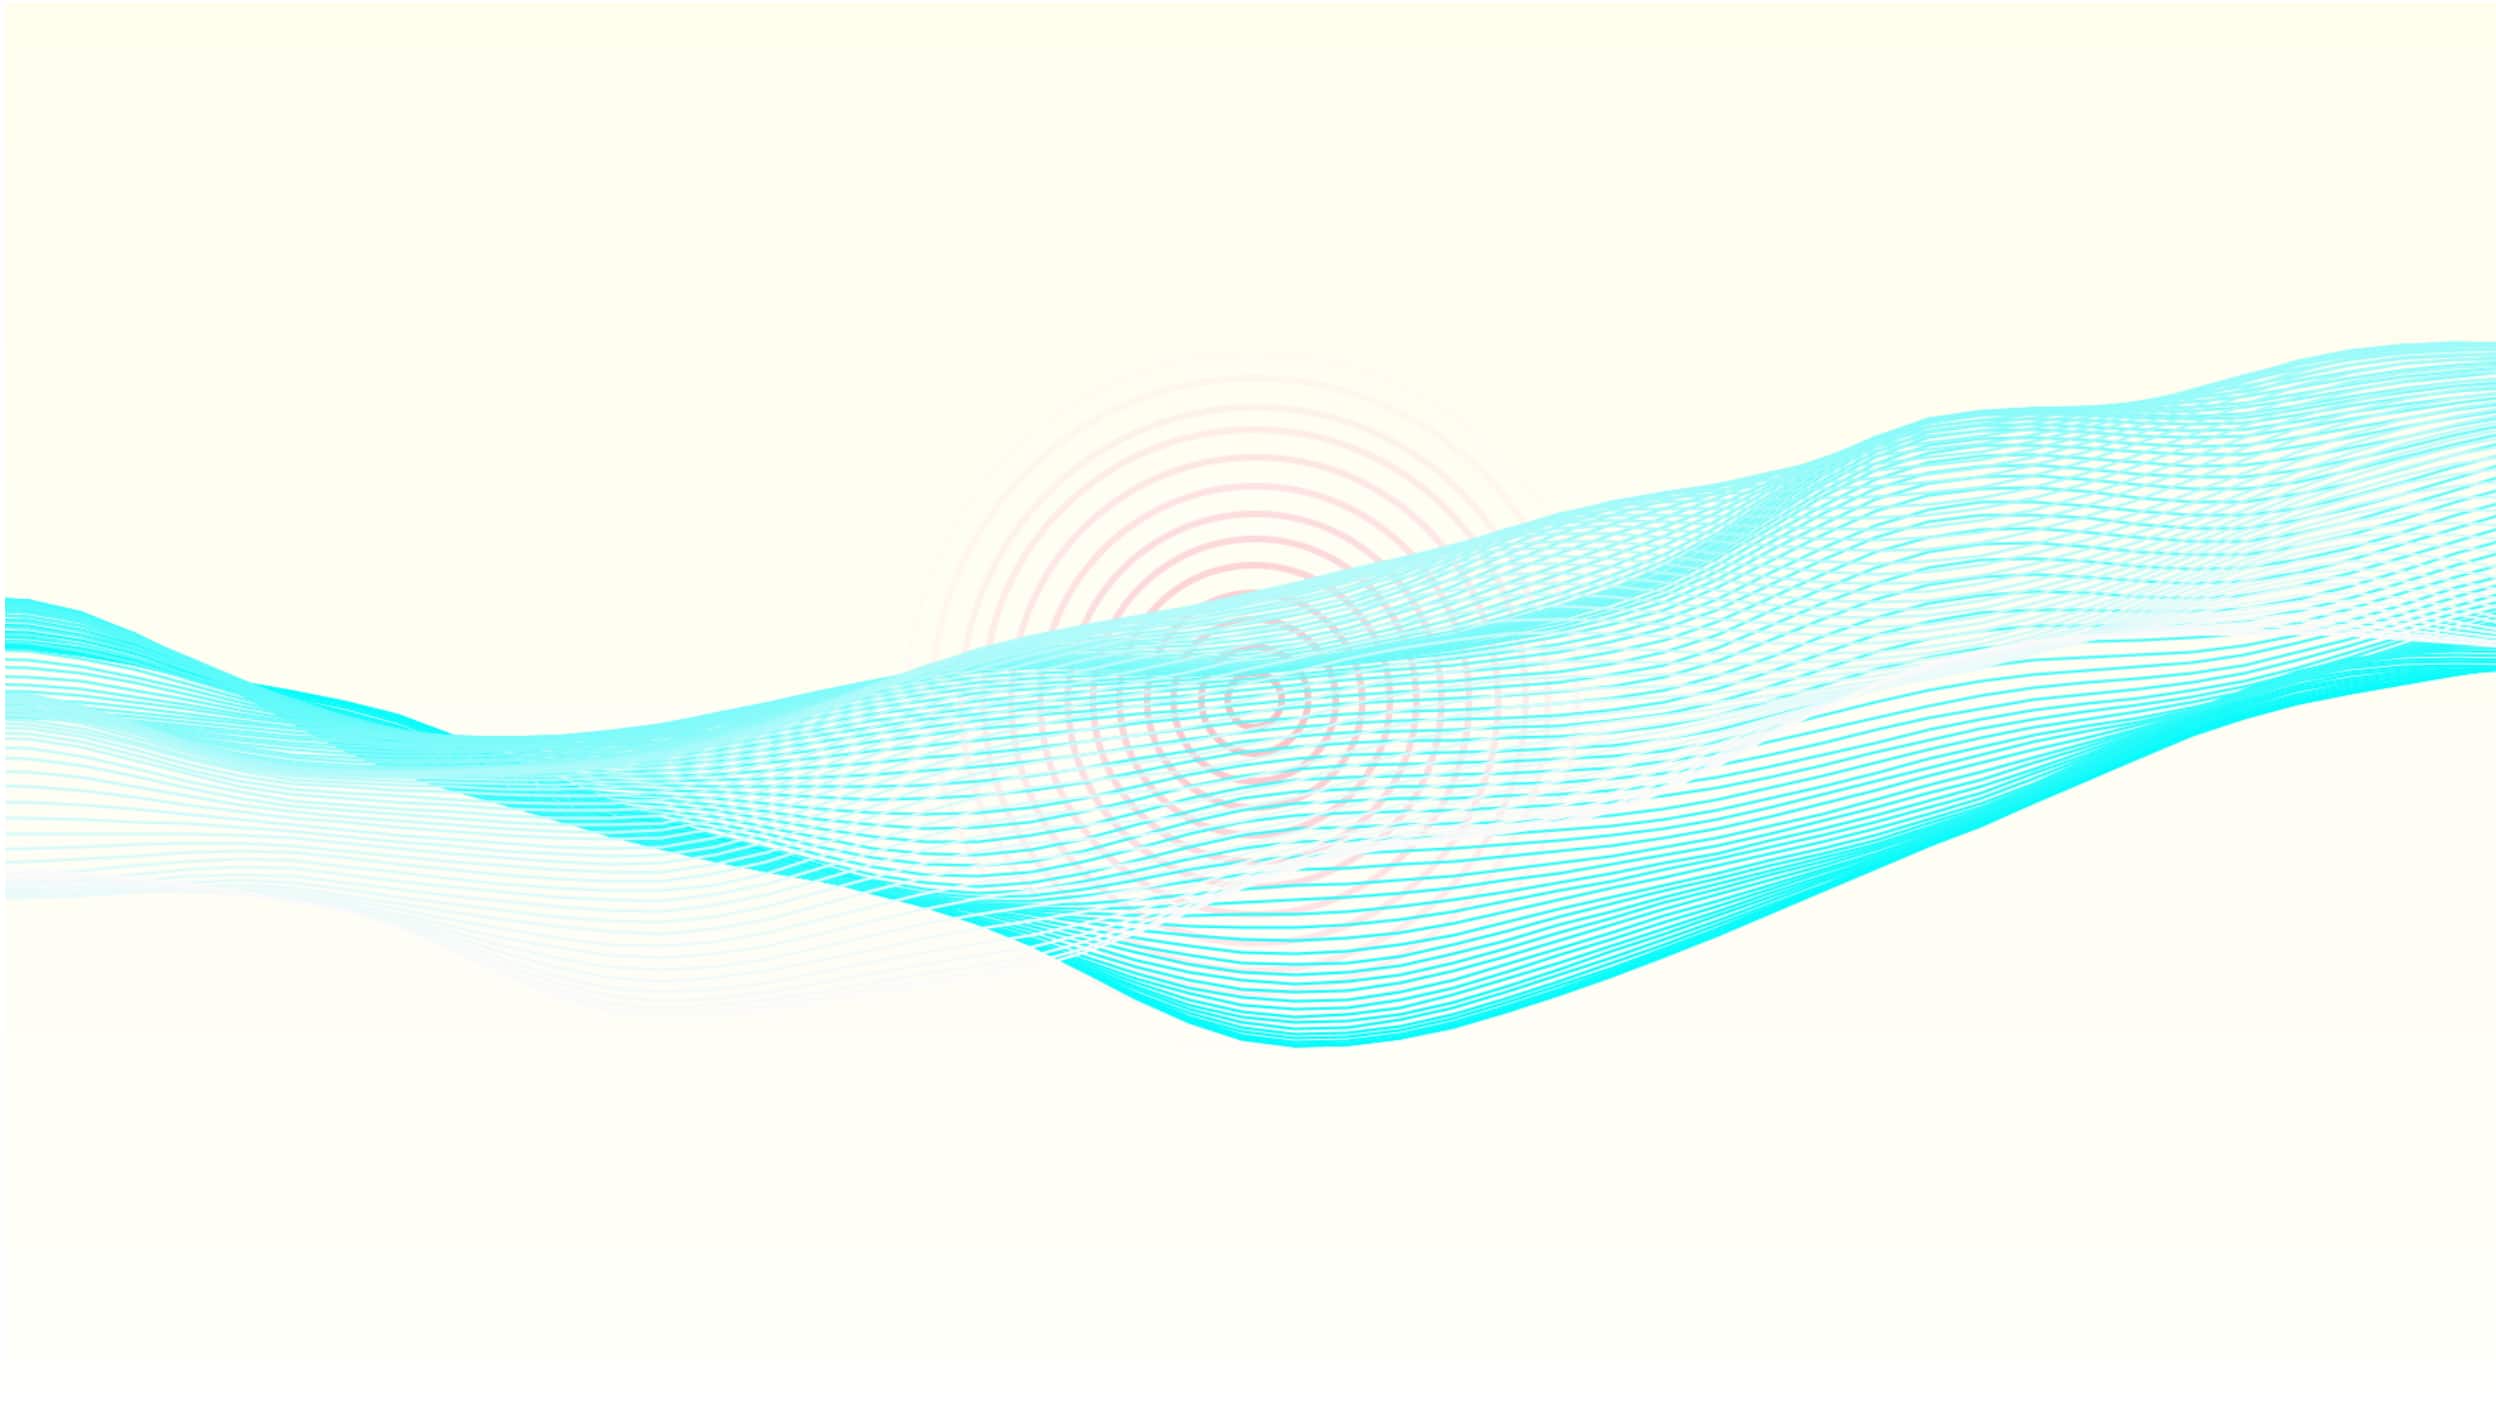
For the generative visuals, I built the concentric ring animation that pulses in response to the audio signal. My teammate built the Perlin noise wave form independently. In V2 we merged the two, and the combined system became the visual identity of the project.
The Enclosure
The box is cardboard, printed with a wood grain and resin ocean wave texture across all faces. The controls sit in a recessed inset panel on the front face — a detail that changed from the original sketch, where components were surface-mounted. Moving them into a cutout protected the hardware and gave the front face a cleaner, more intentional appearance. The touch sensor is on the side panel, the USB port on the opposite side.
How It Works
The button cycles the primary track. The potentiometer adjusts the LCD brightness. The touch sensor triggers the secondary ambient layer independently, so any combination of primary track and ambient layer can run simultaneously — creek with forest, ocean with ocean ambience, rain with nothing. The Processing sketch reads serial input from the Arduino and plays the corresponding audio files through the Minim library while rendering the generative visual display on screen.
The browser simulation below recreates this interaction without the hardware. The button, slider, and touch zone each map directly to their physical counterparts. Note that the original system ran on Arduino and Processing; this is a web-native reconstruction built for portfolio review.
Process Images


Arduino Code
const int POT_PIN = A0;
const int BUTTON_PIN = 2;
const int TOUCH_PIN = 3;

int songOrder = 0;
String currentSong = "";

int colorR, colorG, colorB;

#include <Wire.h>
#include "rgb_lcd.h"

rgb_lcd lcd;

int volume;

String songList[3] = {"1 - Ocean", "2 - Creek", "3 - Rain"};

void setup() {
  pinMode(POT_PIN, INPUT);
  pinMode(TOUCH_PIN, INPUT);
  pinMode(BUTTON_PIN, INPUT);
  lcd.begin(16, 2);
  delay(100);
  Serial.begin(9600);
}

void loop() {
  float potVal = analogRead(POT_PIN);
  bool touchVal = digitalRead(TOUCH_PIN);
  bool buttonVal = digitalRead(BUTTON_PIN);

  Serial.print(potVal);
  Serial.print(",");
  Serial.print(touchVal);
  Serial.print(",");
  Serial.println(buttonVal);

  if (digitalRead(BUTTON_PIN) == HIGH) {
    if (songOrder >= 2) {
      songOrder = 0;
    } else {
      songOrder += 1;
    }
  }
  currentSong = String(songList[songOrder]);

  lcd.clear();

  int val = analogRead(0);
  float brightness = map(val, 0, 1024, 0, 250);

  colorR = 140 - brightness / 2.5;
  colorG = 250 - brightness / 1.5;
  colorB = 250 - brightness / 1.5;

  lcd.setRGB(colorR, colorG, colorB);
  lcd.setCursor(0, 0);
  lcd.print(currentSong);

  delay(200);
}
Arduino code handling button input, track cycling, and LCD display — written by PJ Rodriguez, November 2021.
Reflection
This was the first time I wrote code that controlled physical hardware, and the first time a piece of software I built made sound in response to something I touched. The gap between the planning sketch and the finished object was smaller than expected — most of what we drew we built — but the inset panel detail was an improvement that came from handling the prototype rather than from any plan. That kind of adjustment, where the making teaches you something the drawing could not, is something I have looked for in every project since.